Create a Token
Define a new token using a template or custom configuration.
Token creation defines your token's metadata, extensions, and operational rules. The token is saved in SDP but not yet deployed onchain — see Deploy a Token for the next step.
Templates
| Template | Decimals | Key extensions | Use case |
|---|---|---|---|
stablecoin | 6 | Permanent delegate, pausable | USD-backed tokens |
tokenized-security | 8 | Permanent delegate, pausable, scaled UI amount, allowlist required | Regulated assets |
custom | 9 | None — you choose | Full control |
How it works
Choose a template
Select the template that matches your asset model. Templates pre-fill extensions and constraints you can review before confirming.
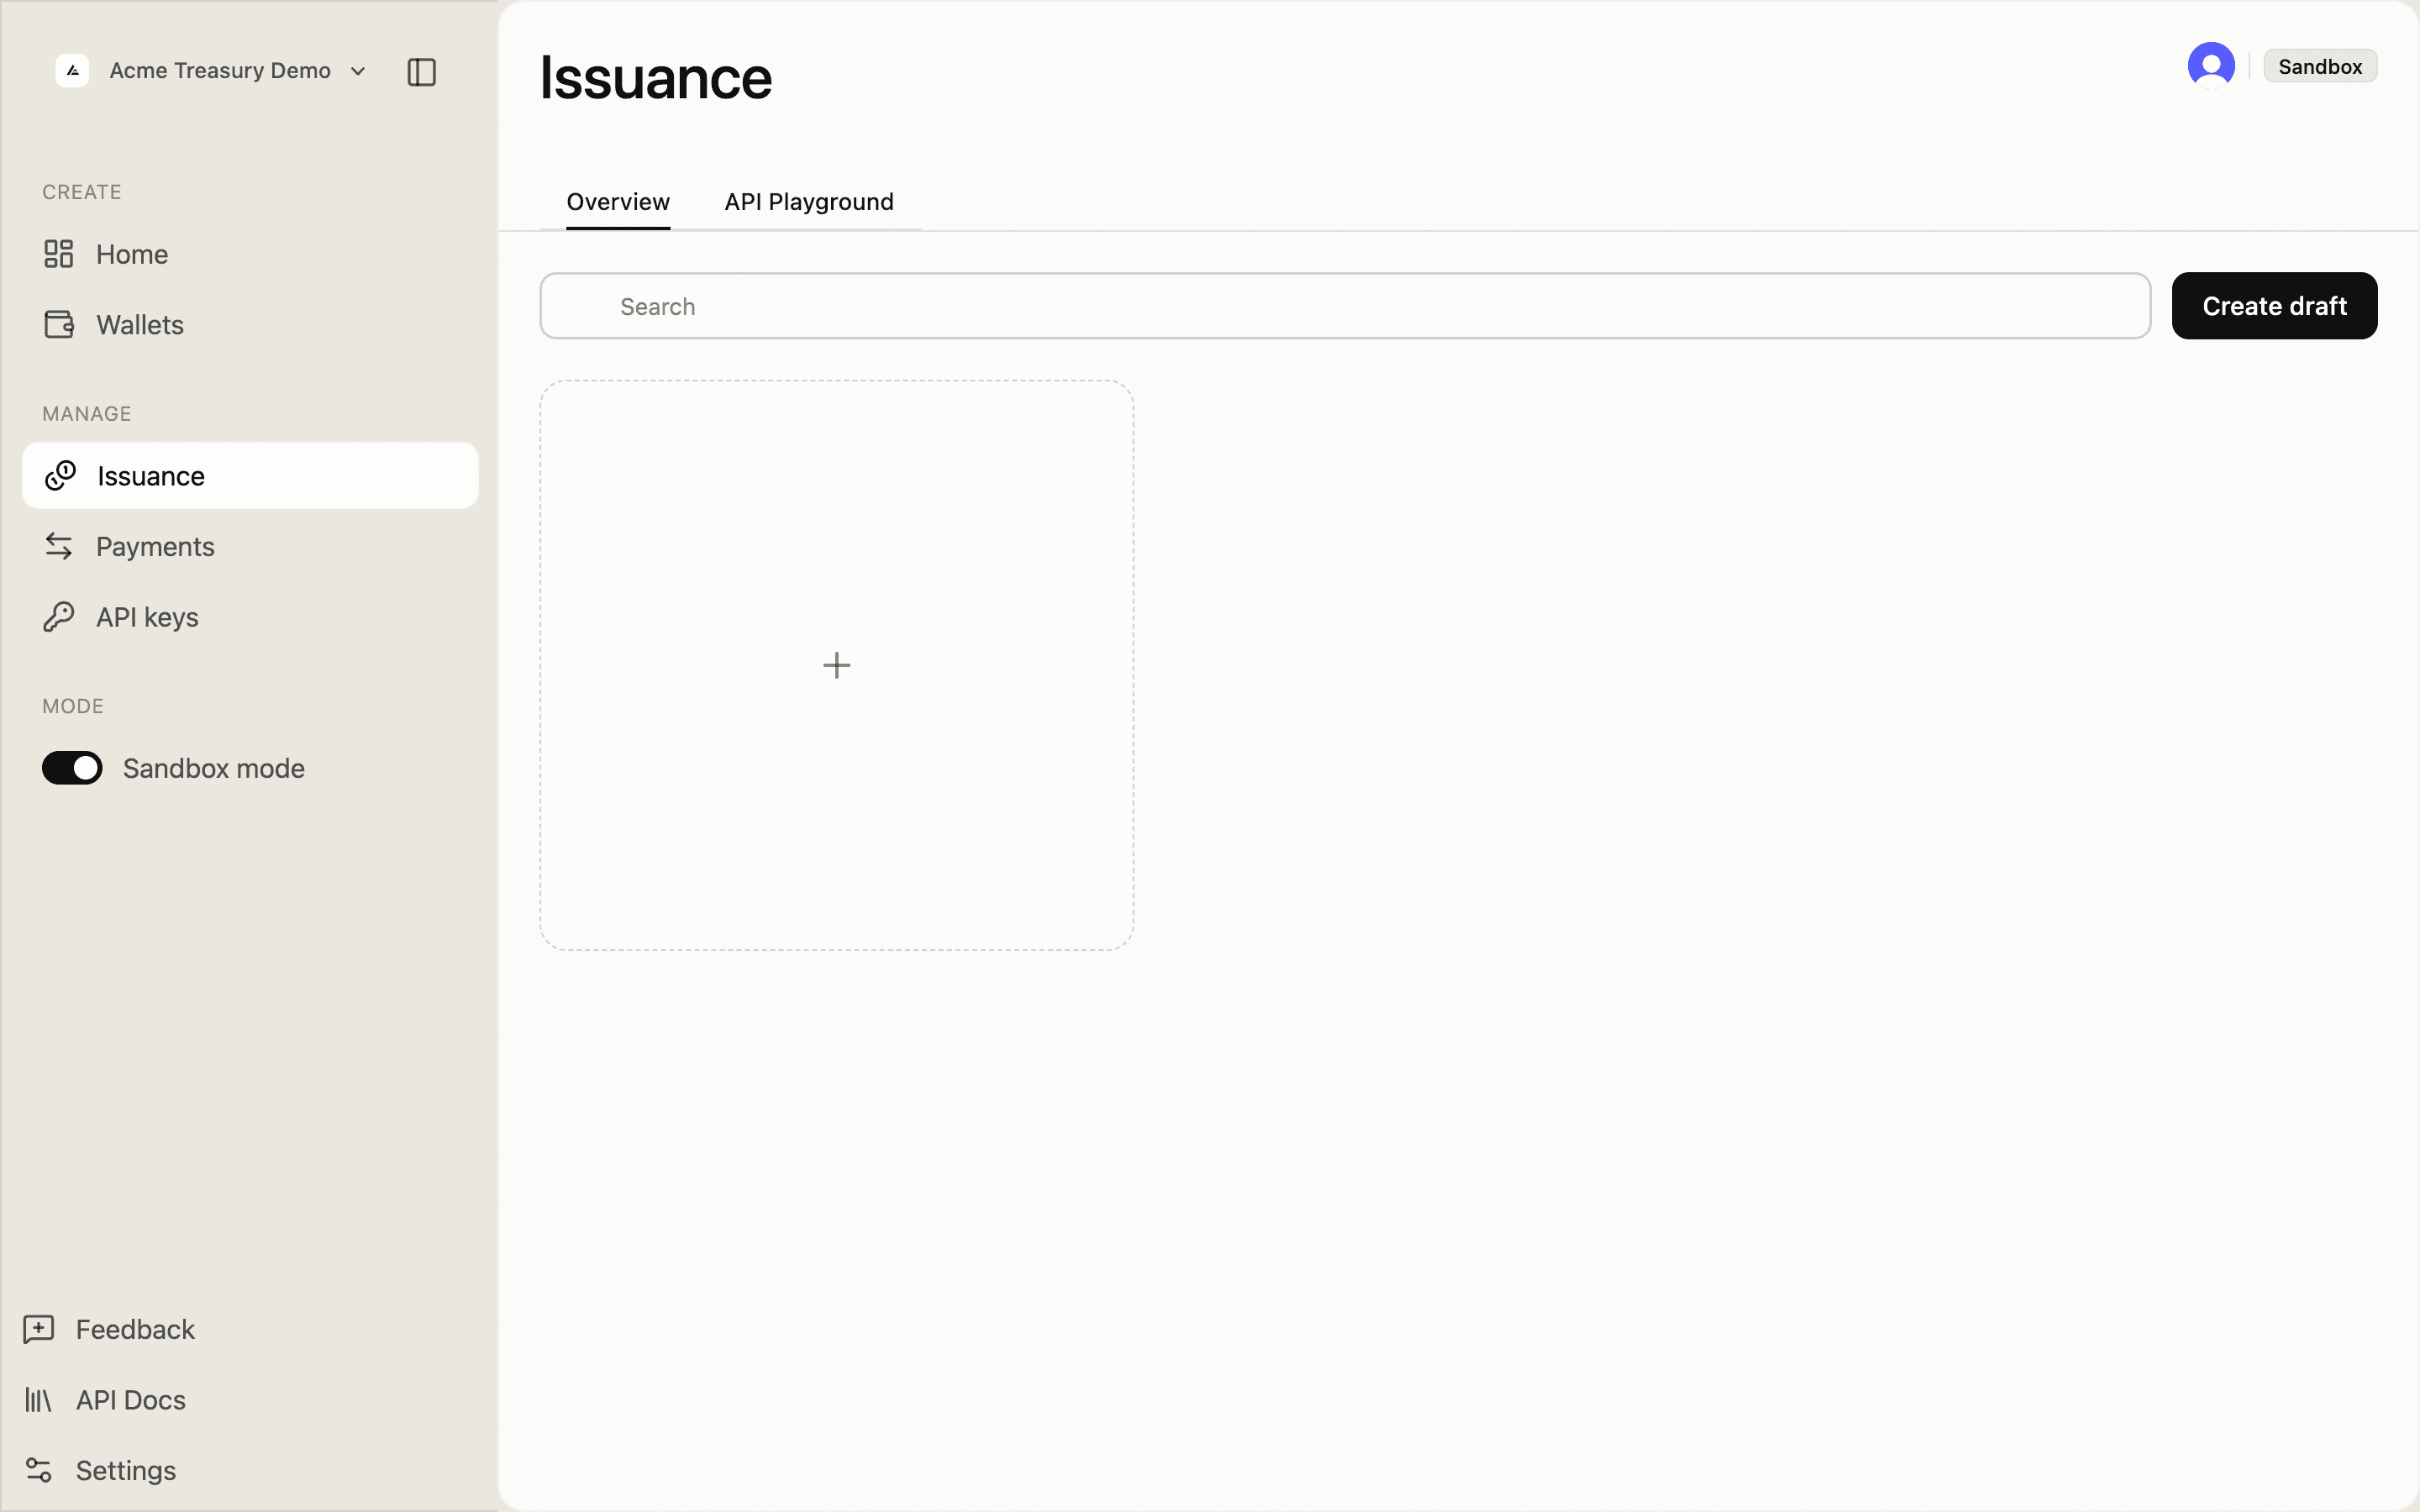
Navigate to Issuance in the sidebar and click Create token in the top right corner.
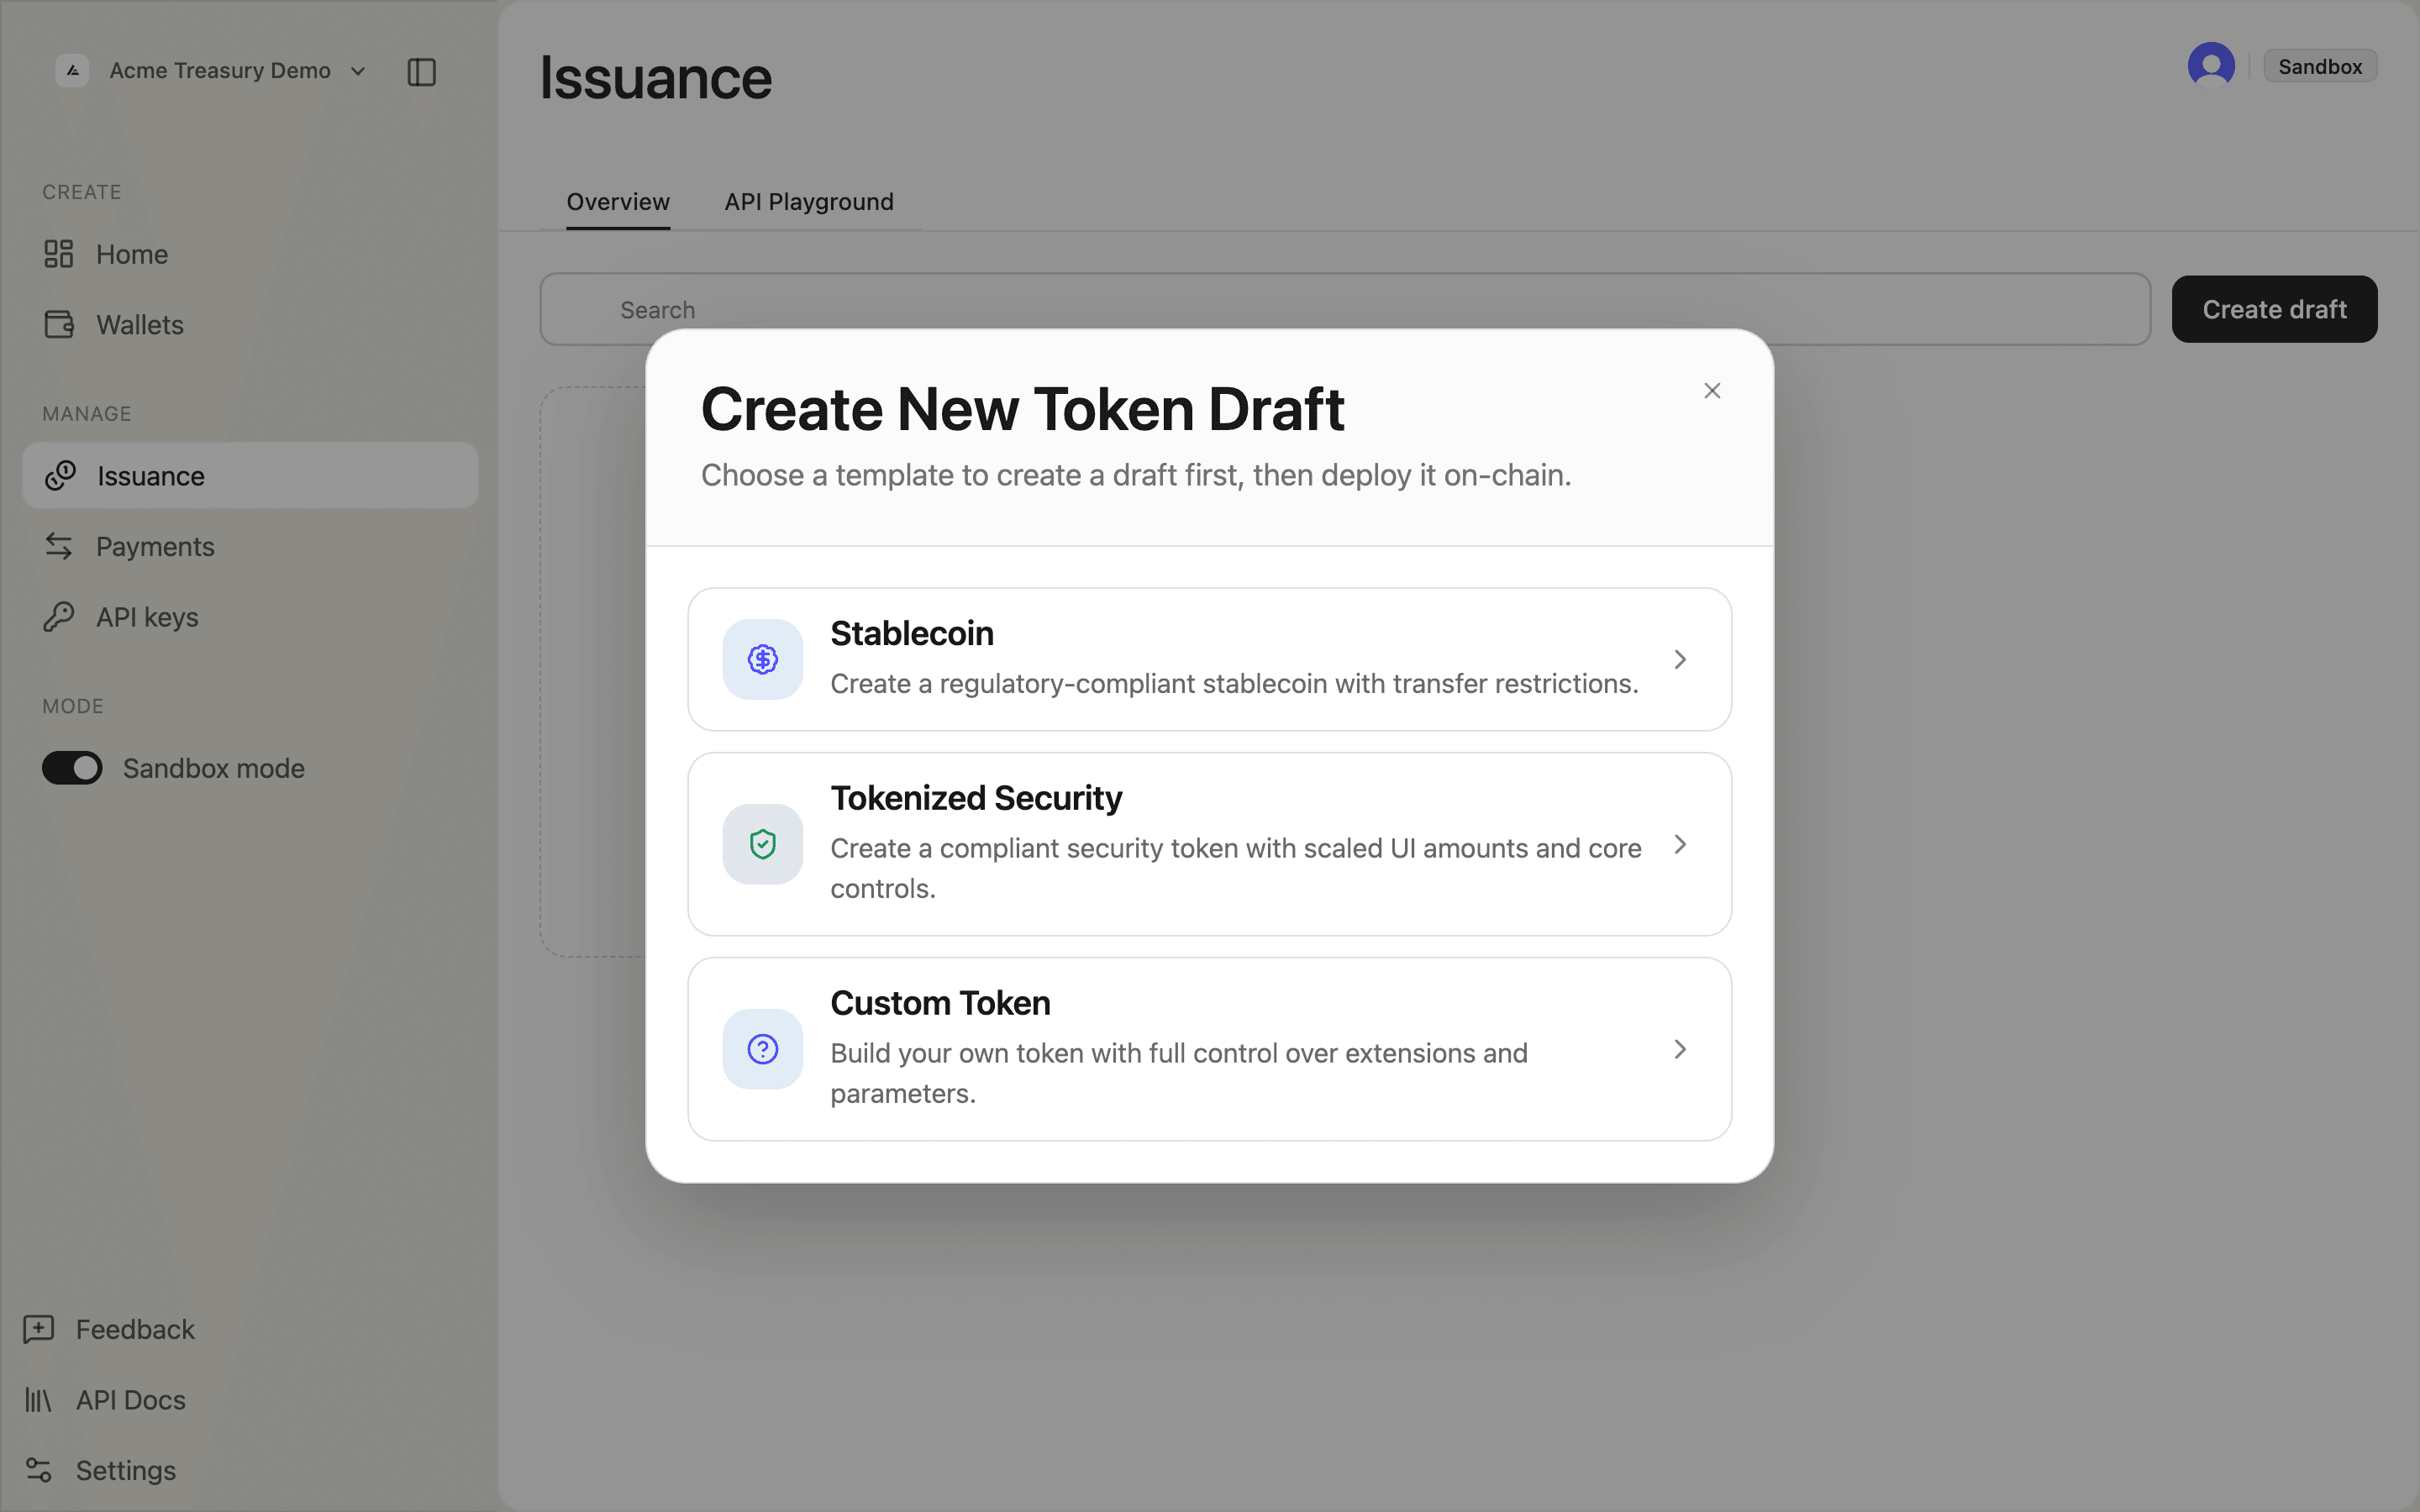
The first screen shows three template cards:
- Stablecoin — USD-backed tokens with compliance controls
- Tokenized Security — regulated assets with allowlist requirement
- Custom — fully configurable Token-2022 setup
Select a template and click Continue.
List available templates to see what fields each one pre-configures:
curl https://api.solana.com/v1/issuance/templates \
  -H "Authorization: Bearer sk_test_..."
const res = await fetch("https://api.solana.com/v1/issuance/templates", {
headers: { Authorization: "Bearer sk_test_..." },
});
const { data } = await res.json();
// data[].id — use as the "template" value when creatingConfigure token identity
Set the core metadata: name, symbol, decimals, and a URI pointing to your token metadata JSON.
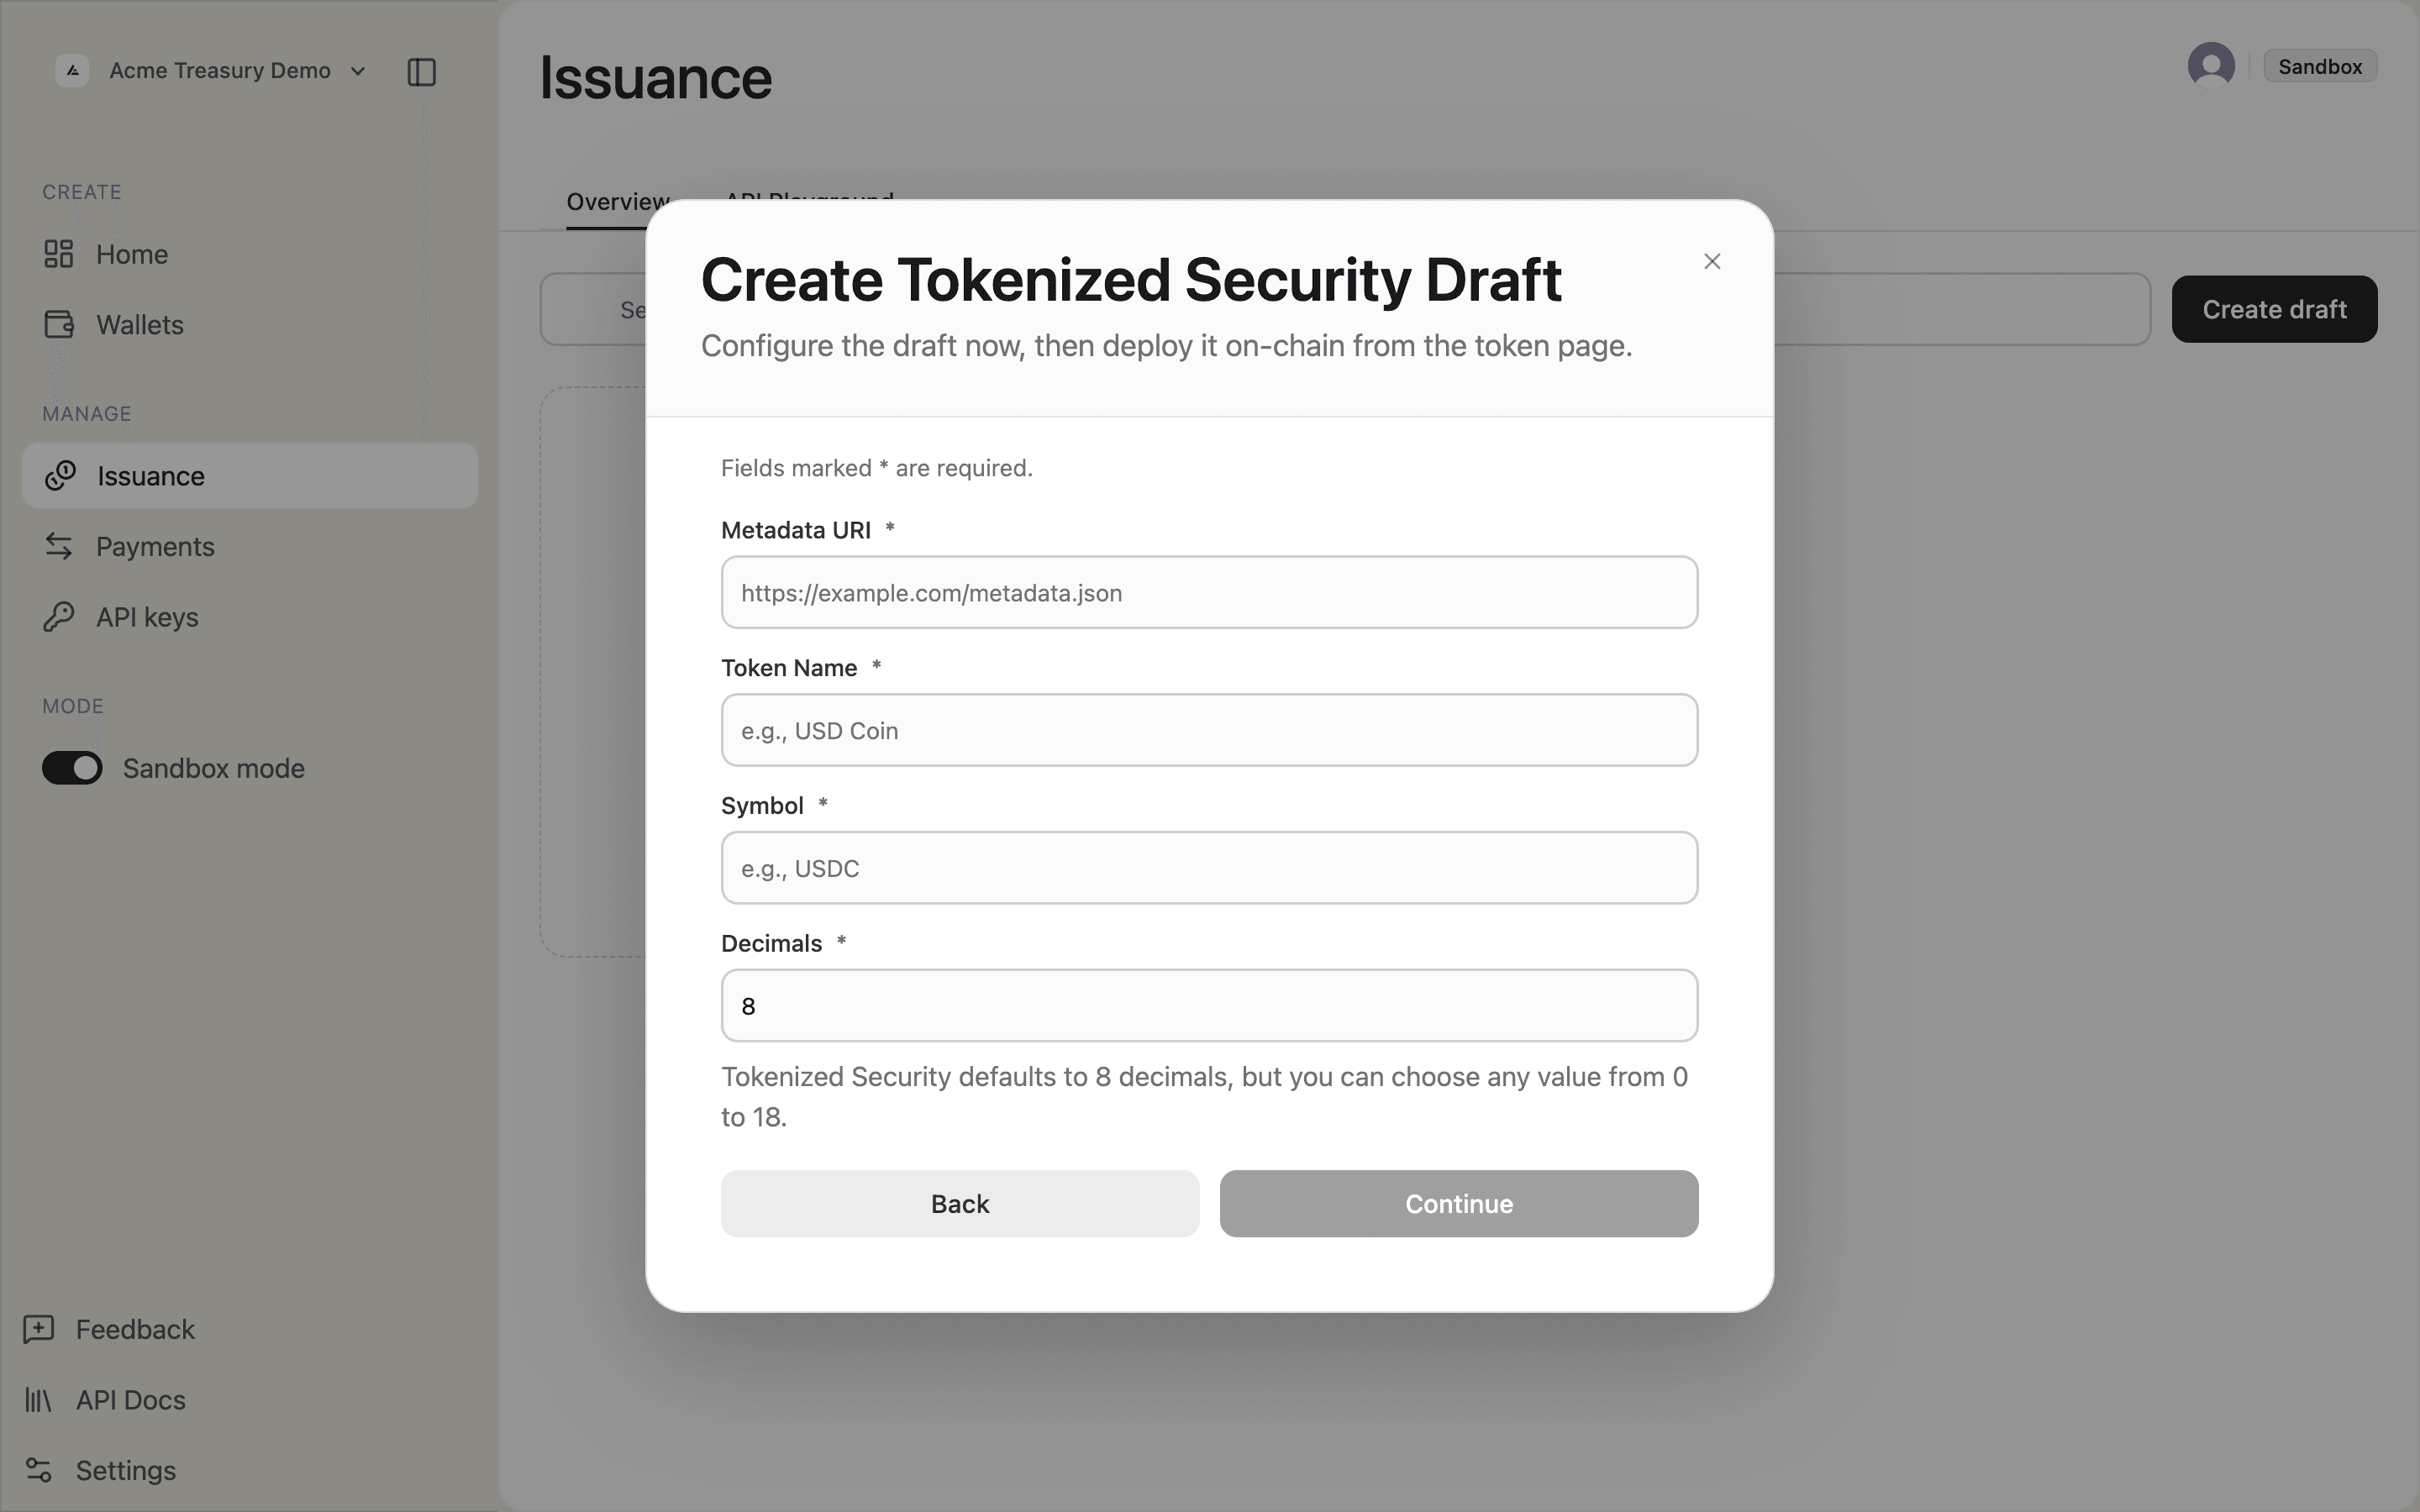
In step 2 of 3, fill in the identity fields:
- Metadata URI — HTTPS URL for the token metadata JSON
- Token name — e.g., "Acme Dollar"
- Symbol — 1–10 uppercase alphanumeric characters, e.g.,
ACME - Decimals — options depend on the selected template
Click Continue when ready.
Pass identity fields in the POST /v1/issuance/tokens body:
curl -X POST https://api.solana.com/v1/issuance/tokens \
  -H "Authorization: Bearer sk_test_..." \
  -H "Content-Type: application/json" \
  -d '{
    "name": "Acme Dollar",
    "symbol": "ACME",
    "decimals": 6,
    "description": "USD-backed stablecoin",
    "template": "stablecoin"
}'Set operational settings
Choose the wallet that will sign token operations, and configure allowlist and supply controls.
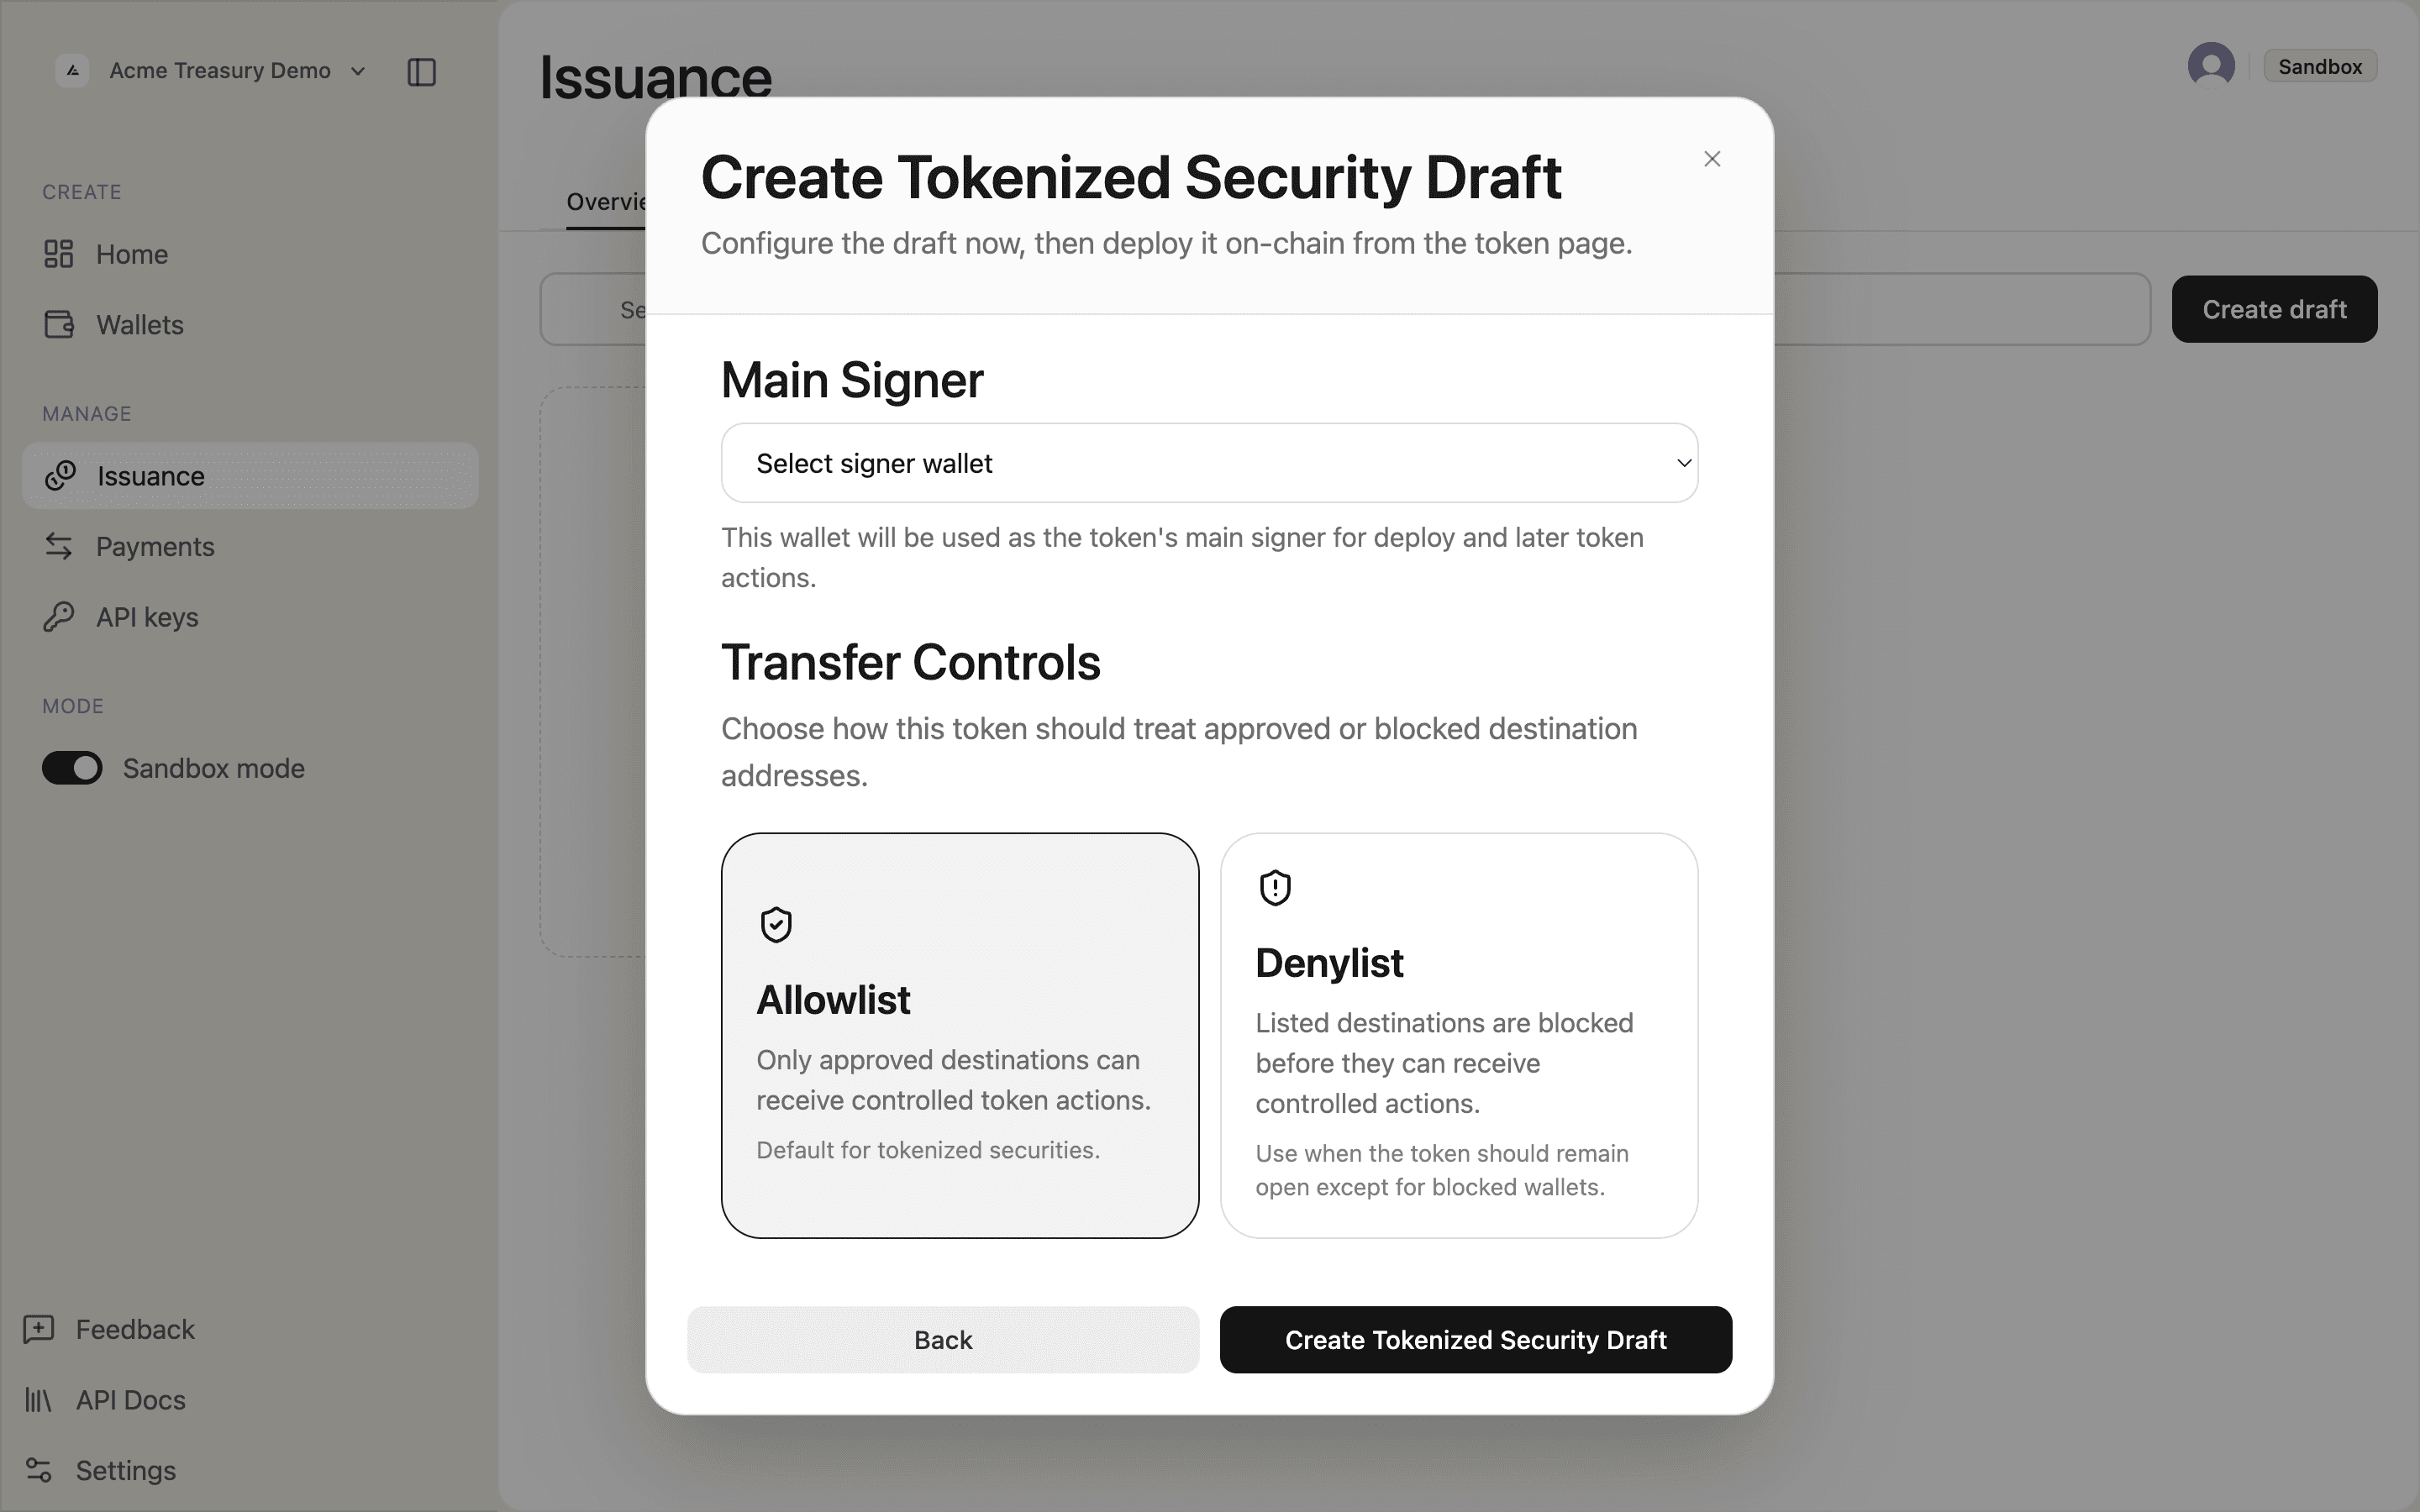
In step 3 of 3, configure:
- Main signer — the SDP-controlled wallet for deploy and token actions
- Allowlist — toggle on or off; required and locked for
tokenized-security
Click Create token to save the draft.
Add operational fields to the same body:
const res = await fetch("https://api.solana.com/v1/issuance/tokens", {
  method: "POST",
  headers: {
    Authorization: "Bearer sk_test_...",
    "Content-Type": "application/json",
  },
  body: JSON.stringify({
    name: "Acme Dollar",
    symbol: "ACME",
    decimals: 6,
    description: "USD-backed stablecoin",
    template: "stablecoin",
    requiresAllowlist: false,
    isMintable: true,
    isFreezable: true,
  }),
});
For a custom token, omit template or set it to "custom" and pass overrides.extensions:
body: JSON.stringify({
  name: "Game Coin",
  symbol: "GAME",
  decimals: 0,
  template: "custom",
  overrides: {
    extensions: {
      pausable: {},
      transferFee: { basisPoints: 50, maxFee: "1000" },
    },
  },
  isMintable: true,
  isFreezable: false,
}),Confirm creation
The token is saved in SDP with status pending. Nothing has been written to Solana yet.
A success toast confirms creation. The token appears in the Issuance list with a Draft badge.
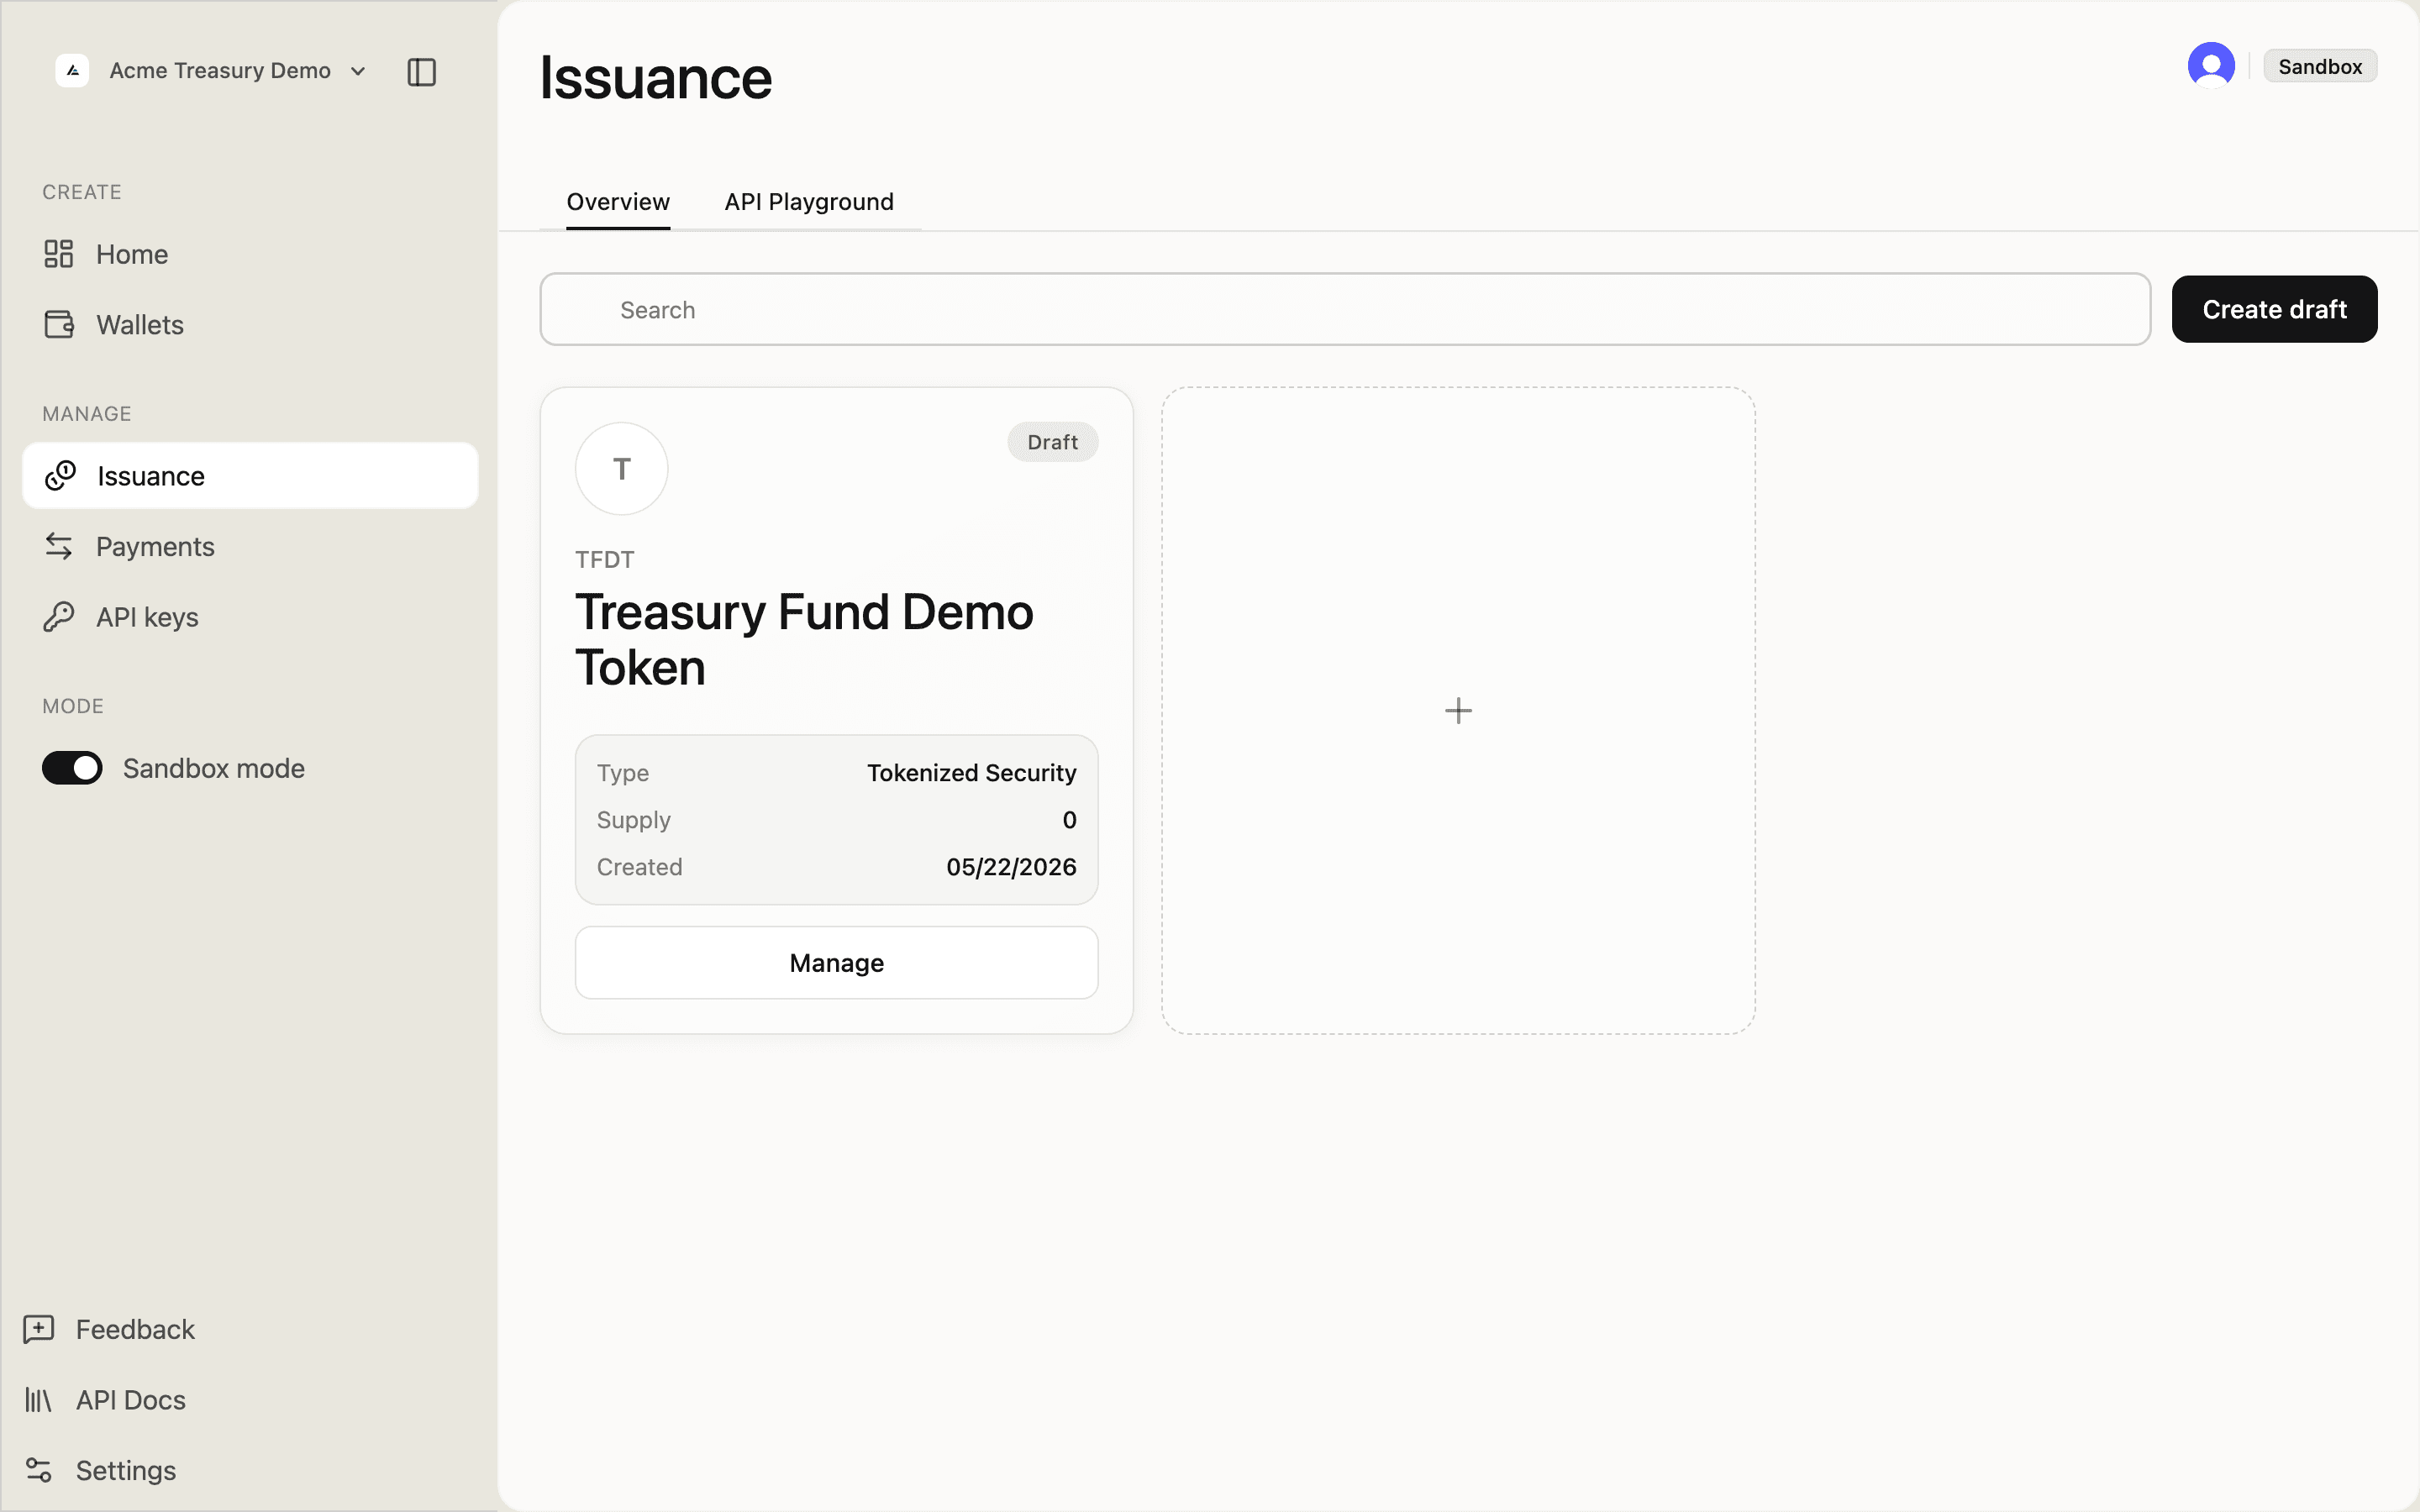
Open the token to see its detail page. The status shows Not deployed and a Deploy button is available to move to the next step.
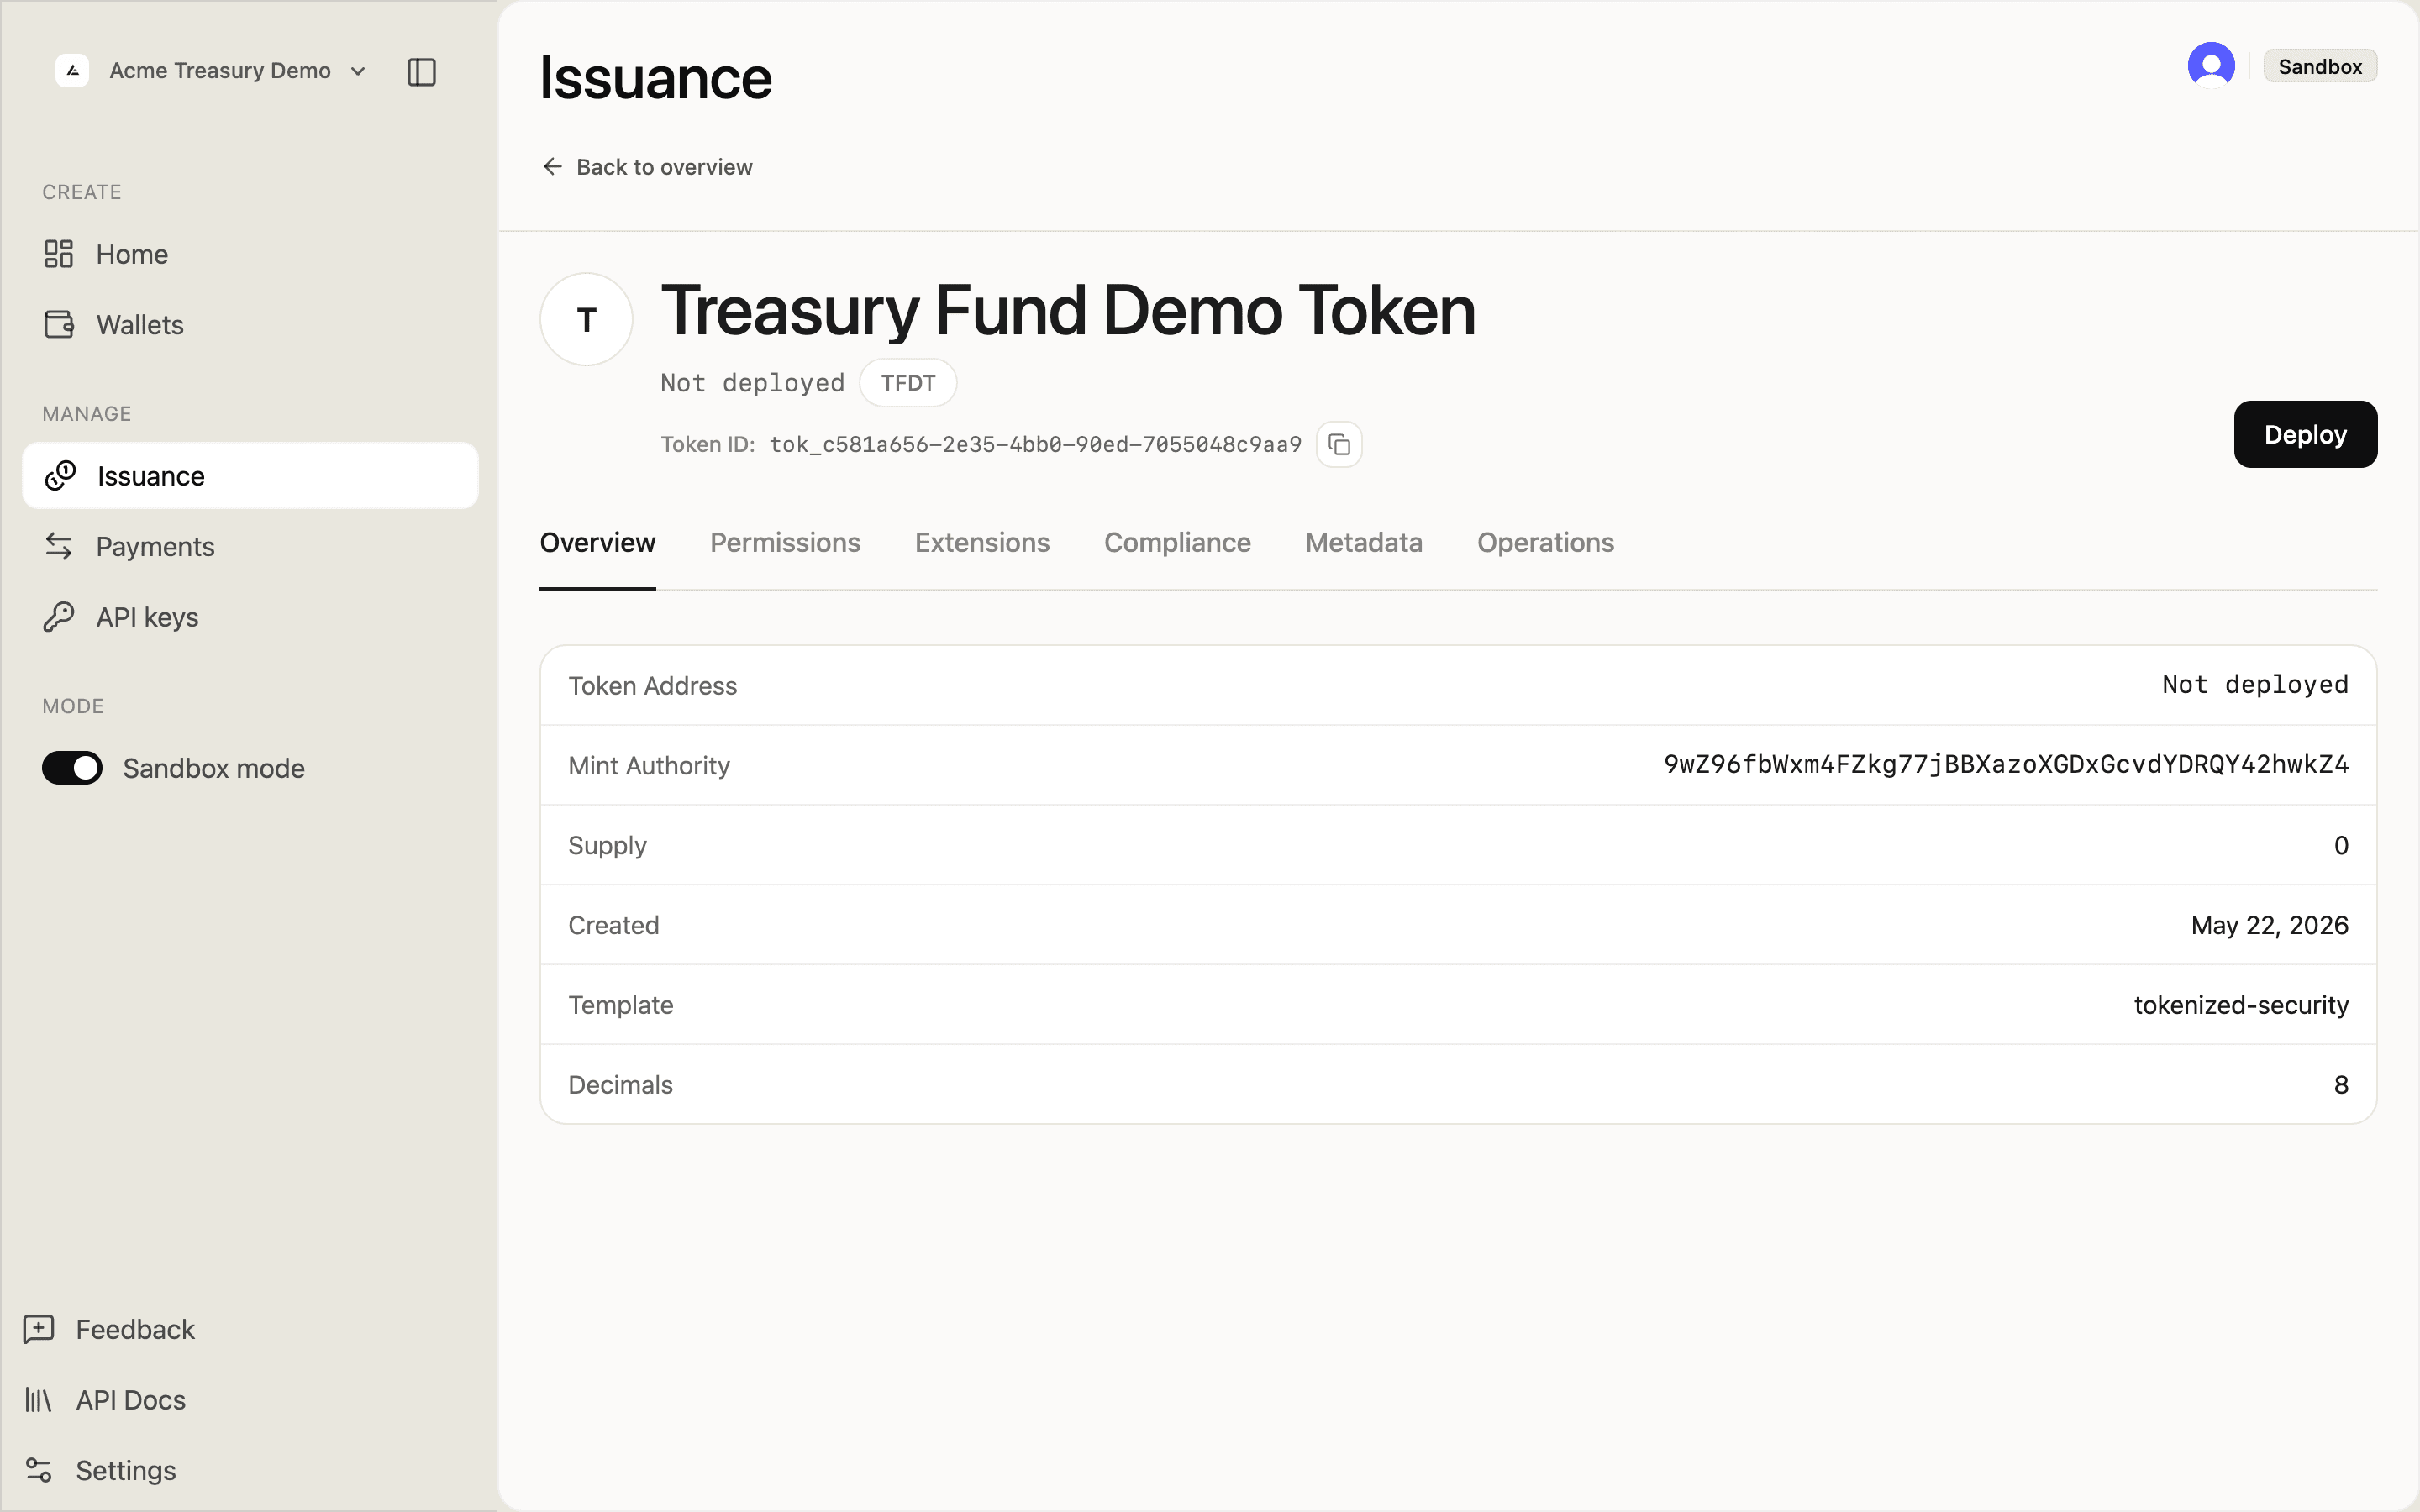
A successful response returns the new token object:
const { data } = await res.json();
// data.token.id     — save this; used in all subsequent calls
// data.token.status — "pending"
The token is not yet onchain. Pass data.token.id to Deploy a Token.