Set Up Wallets
Initialize a custody provider and create wallets for signing transactions.
A custody wallet is a Solana keypair whose key is held and signed for by a custody provider — SDP routes signing requests to whichever provider holds the wallet's key. Initialize a provider, then create wallets for token deployment, minting, transfers, and other onchain operations.
Supported providers
| Provider | Description |
|---|---|
| Privy | Embedded wallet infrastructure platform |
| Fireblocks | Digital asset infrastructure company |
| Coinbase CDP | Embedded wallets for developers |
| Para | Wallet and authentication suite |
| Turnkey | Non-custodial wallet infrastructure platform |
| DFNS | Digital asset wallet infrastructure |
| Anchorage | Regulated institutional crypto custody |
1. Navigate to Wallets
Open the sidebar and click Wallets. If you haven't linked your organization yet, complete the organization setup first.
2. Choose a custody provider
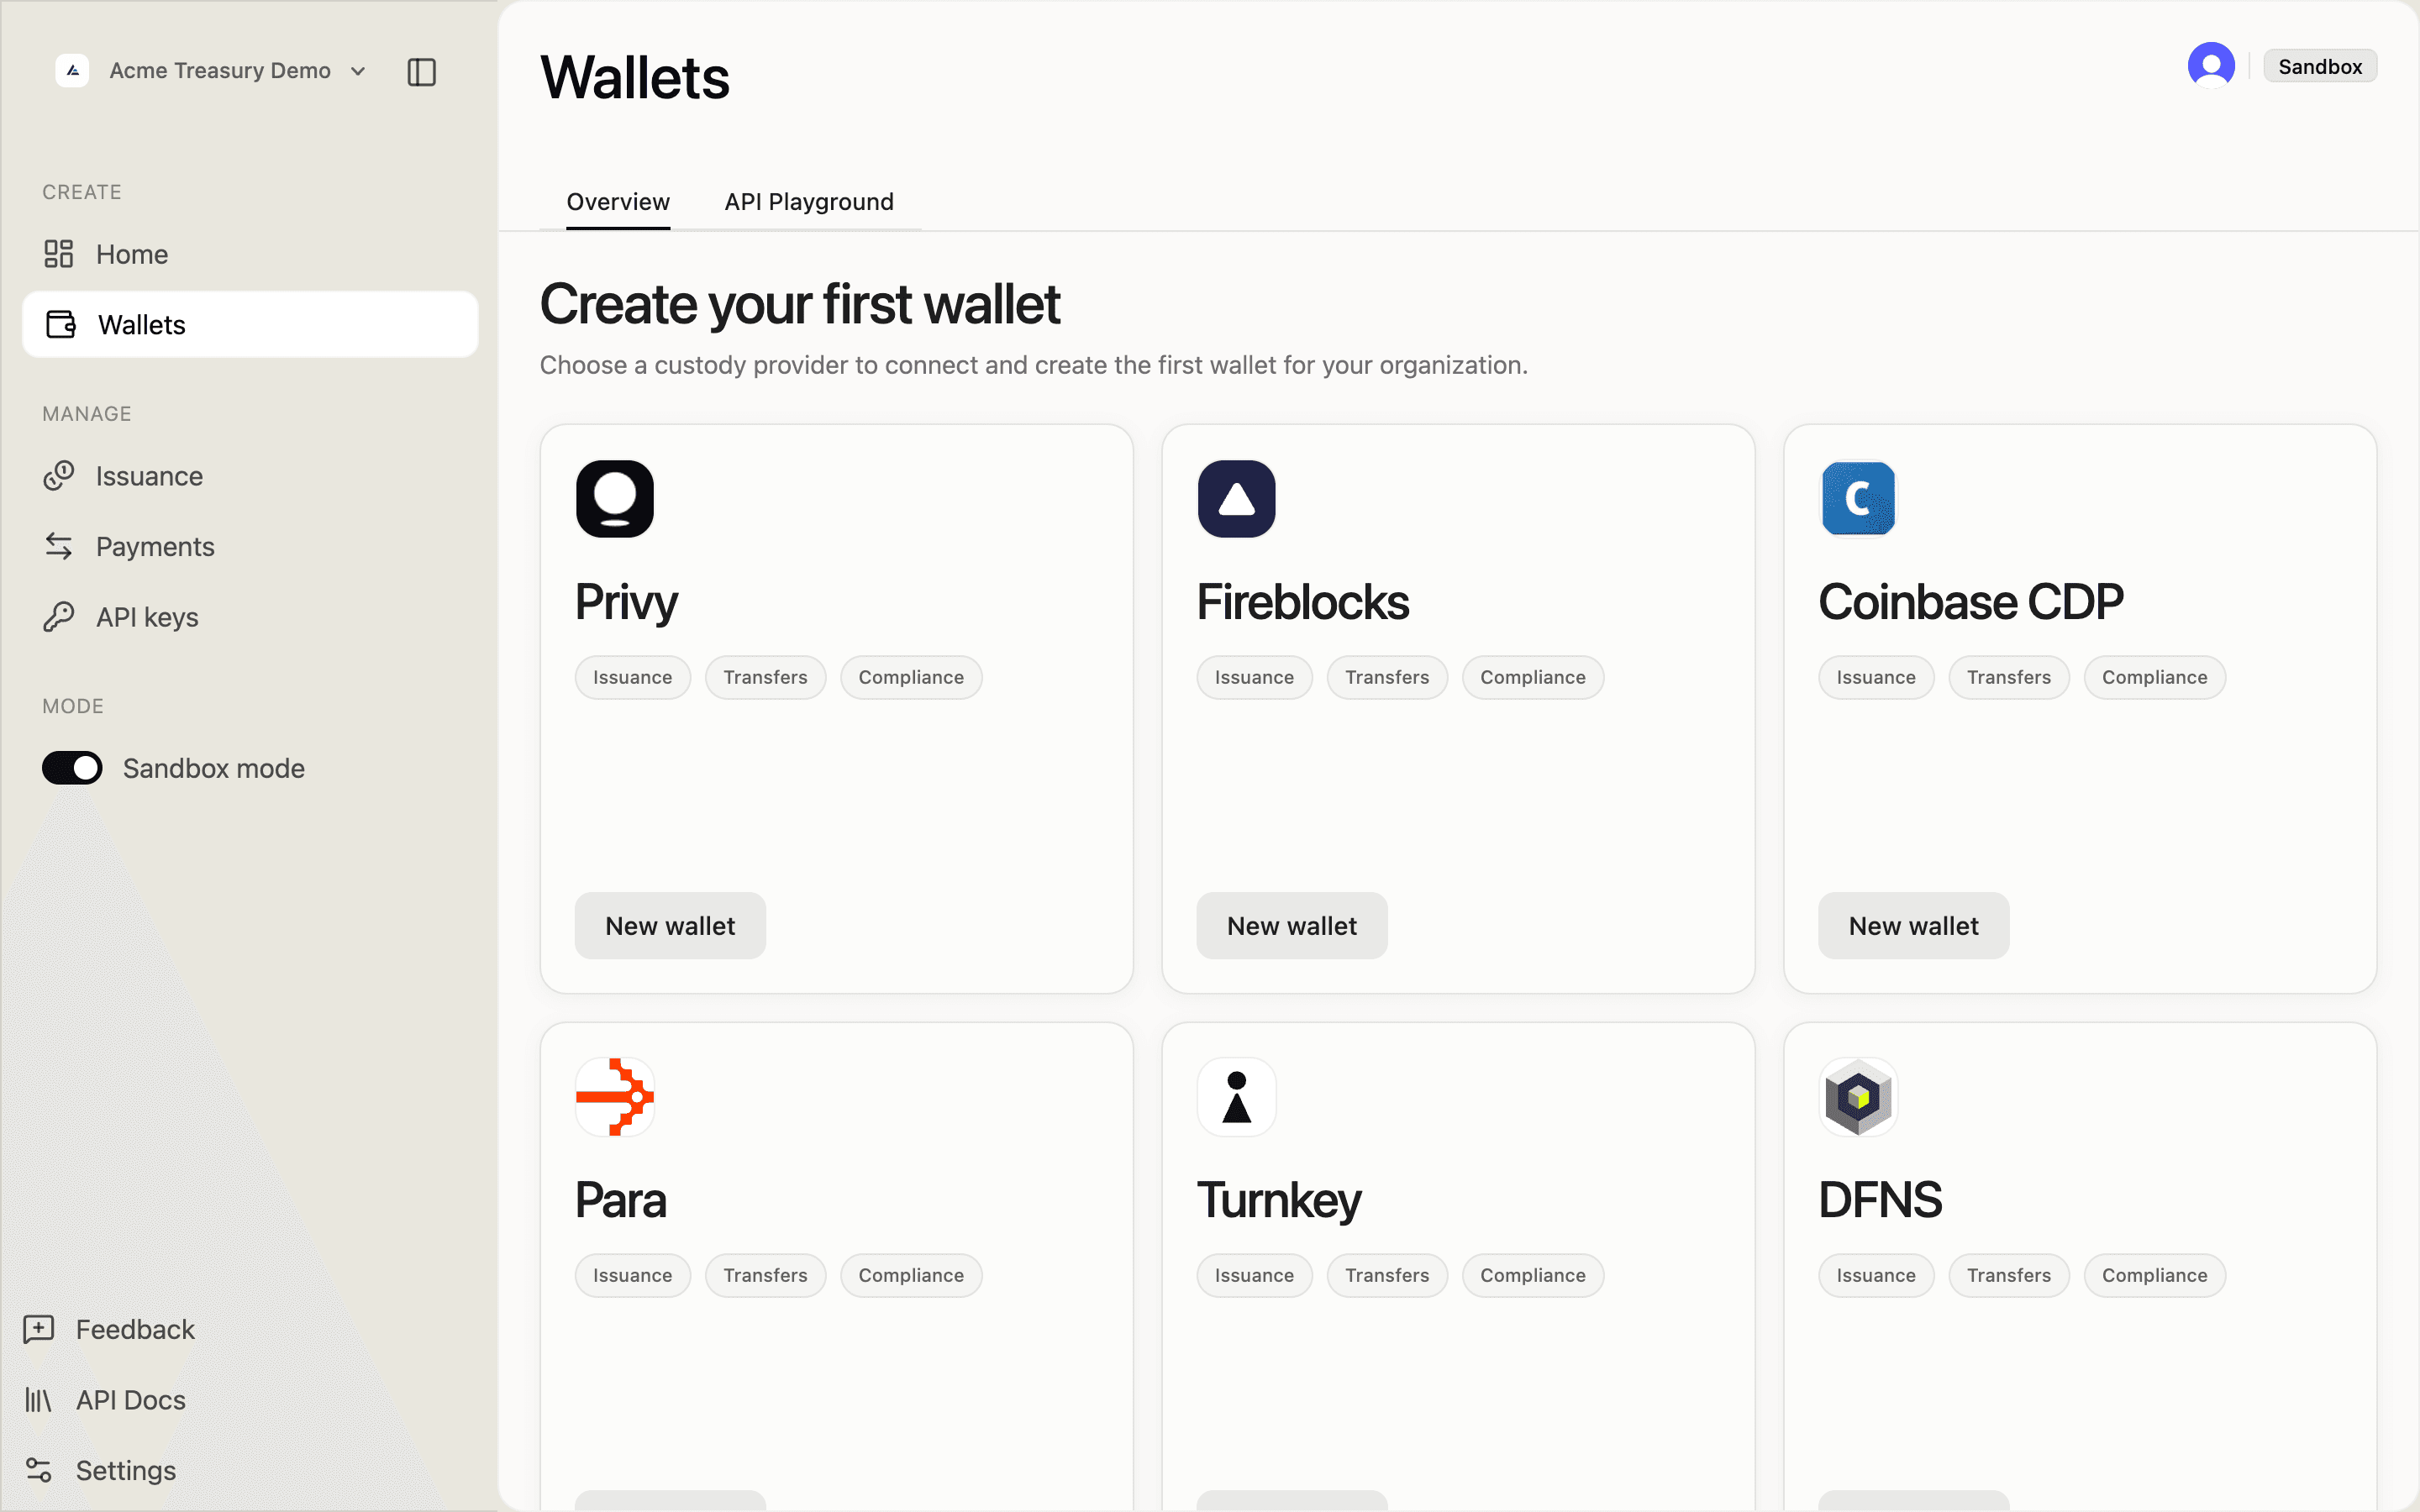
The Wallets page shows all supported providers, each with a New wallet button. Pick the provider that fits your setup.
3. Create the wallet
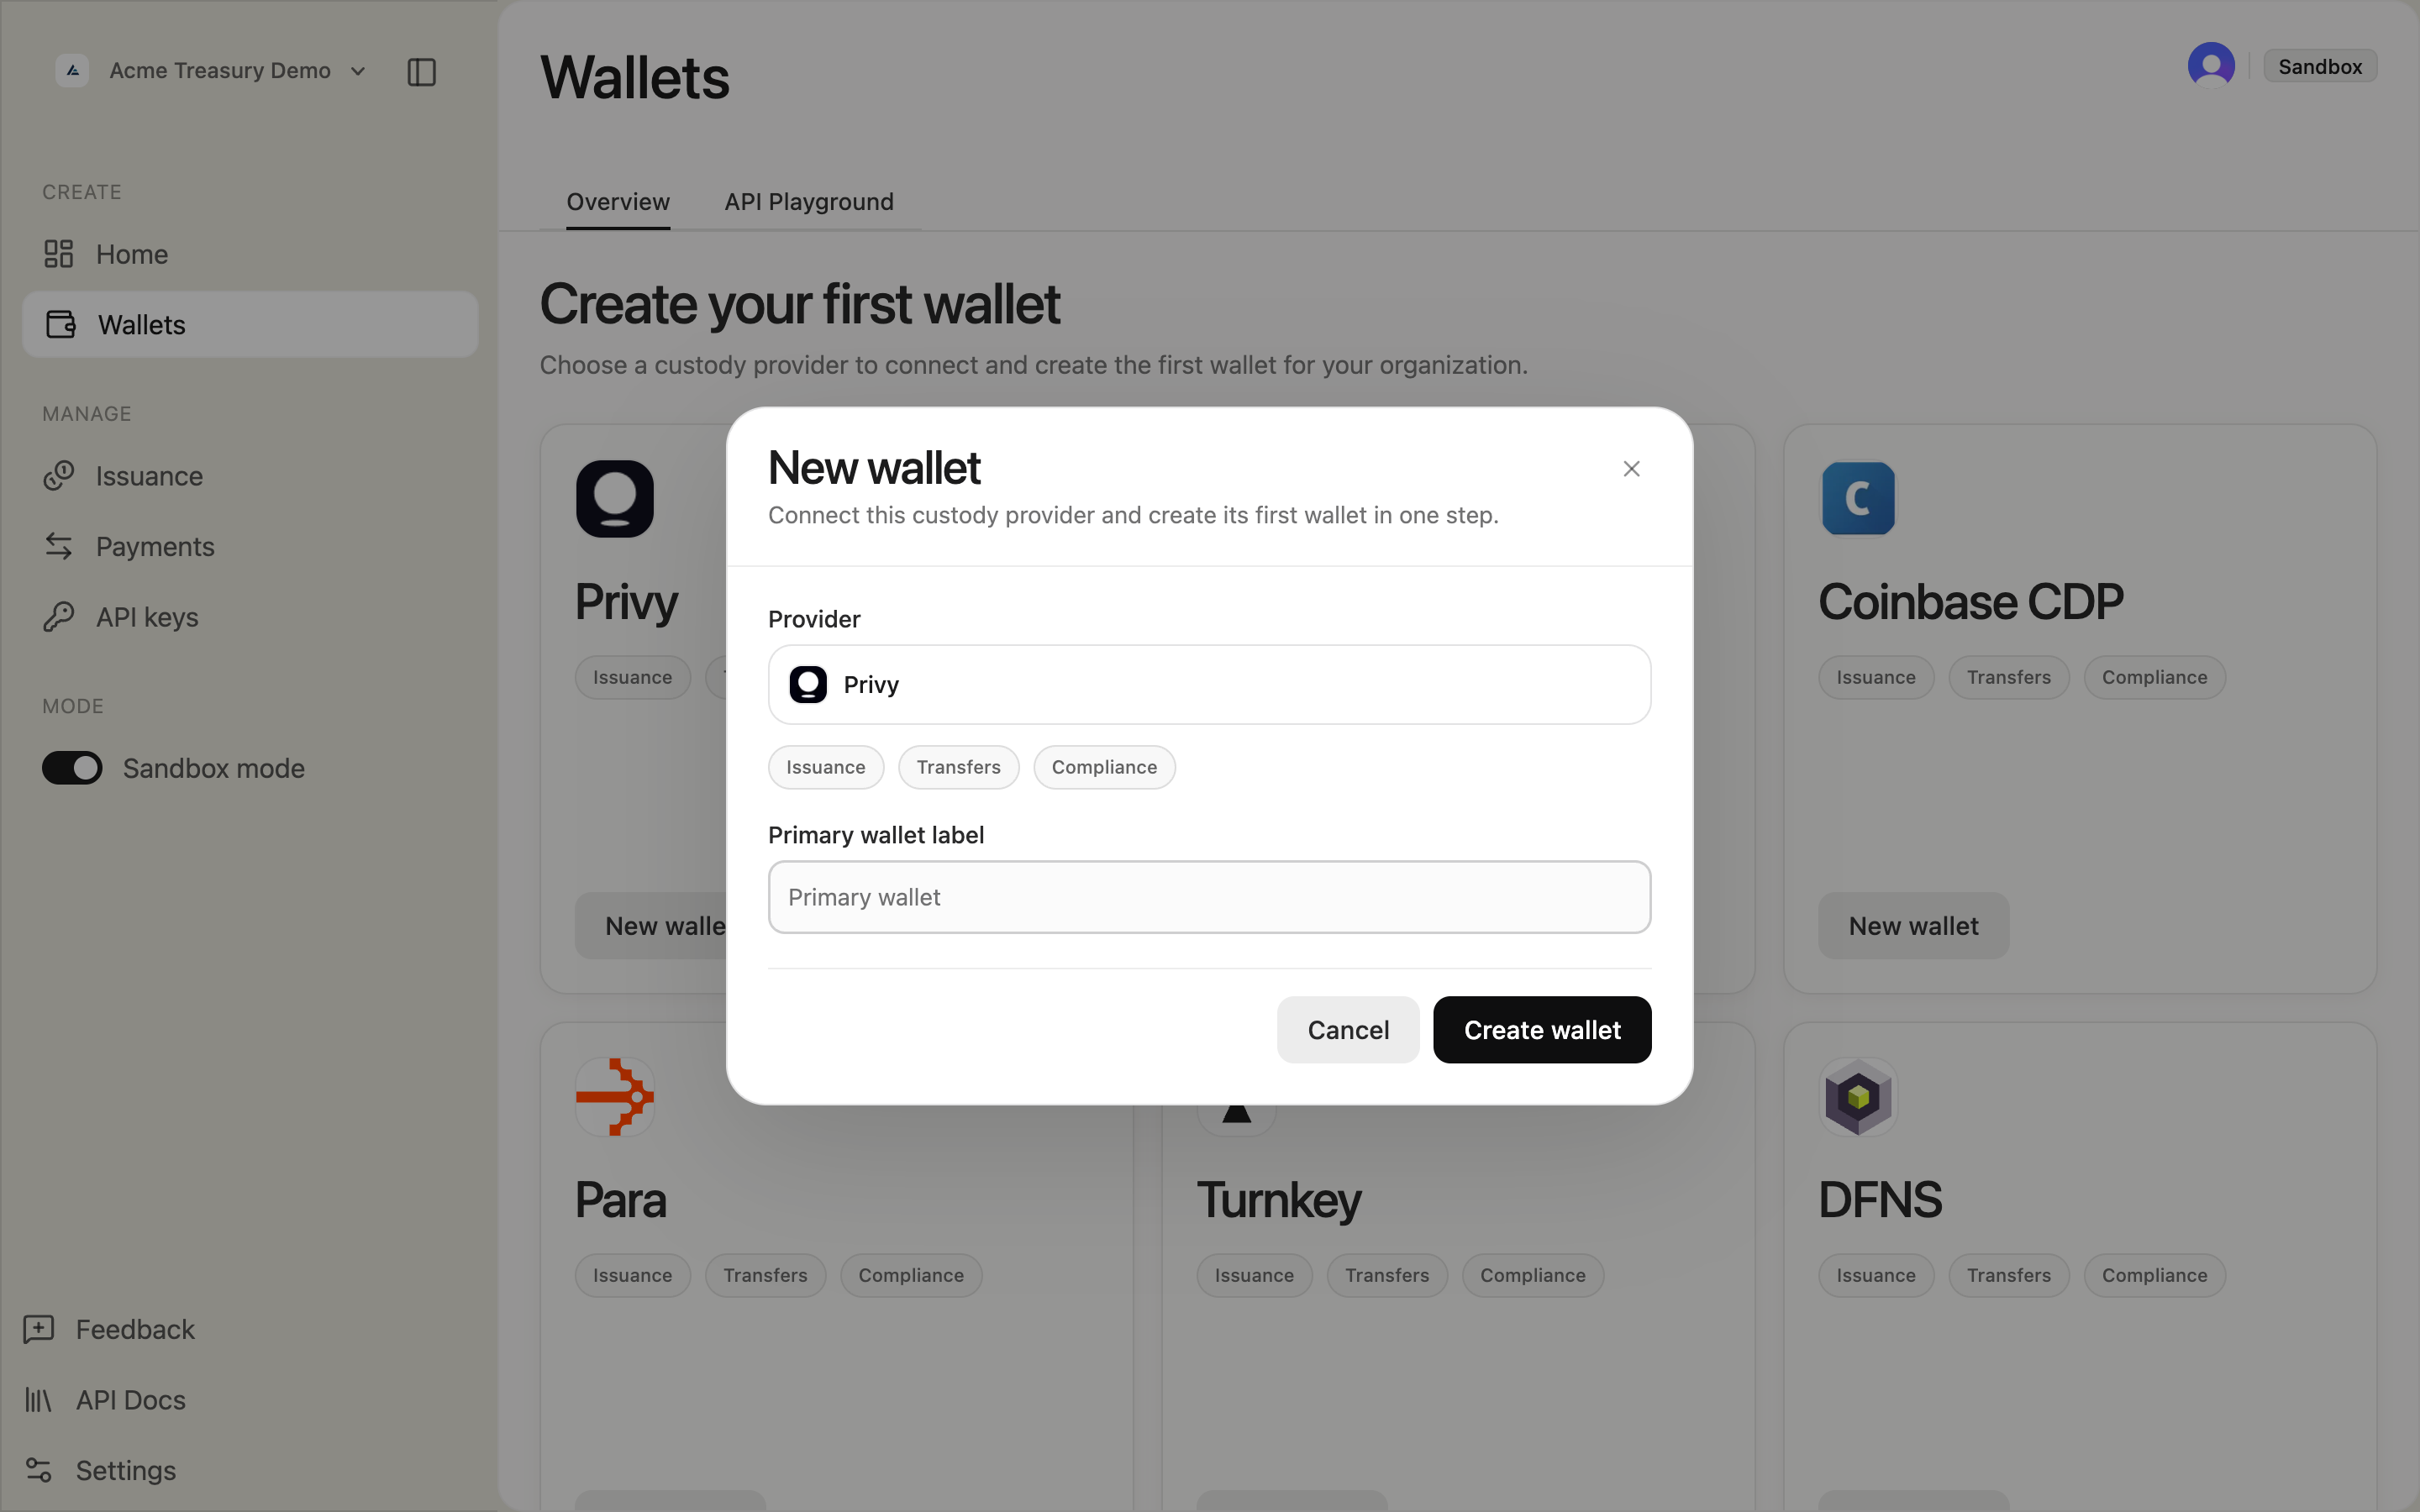
Click New wallet on your chosen provider. In the modal, enter a label for the wallet and click Create wallet.
4. View your wallet
After provisioning, the wallet card appears on the Wallets page with its address, wallet ID, and balance.
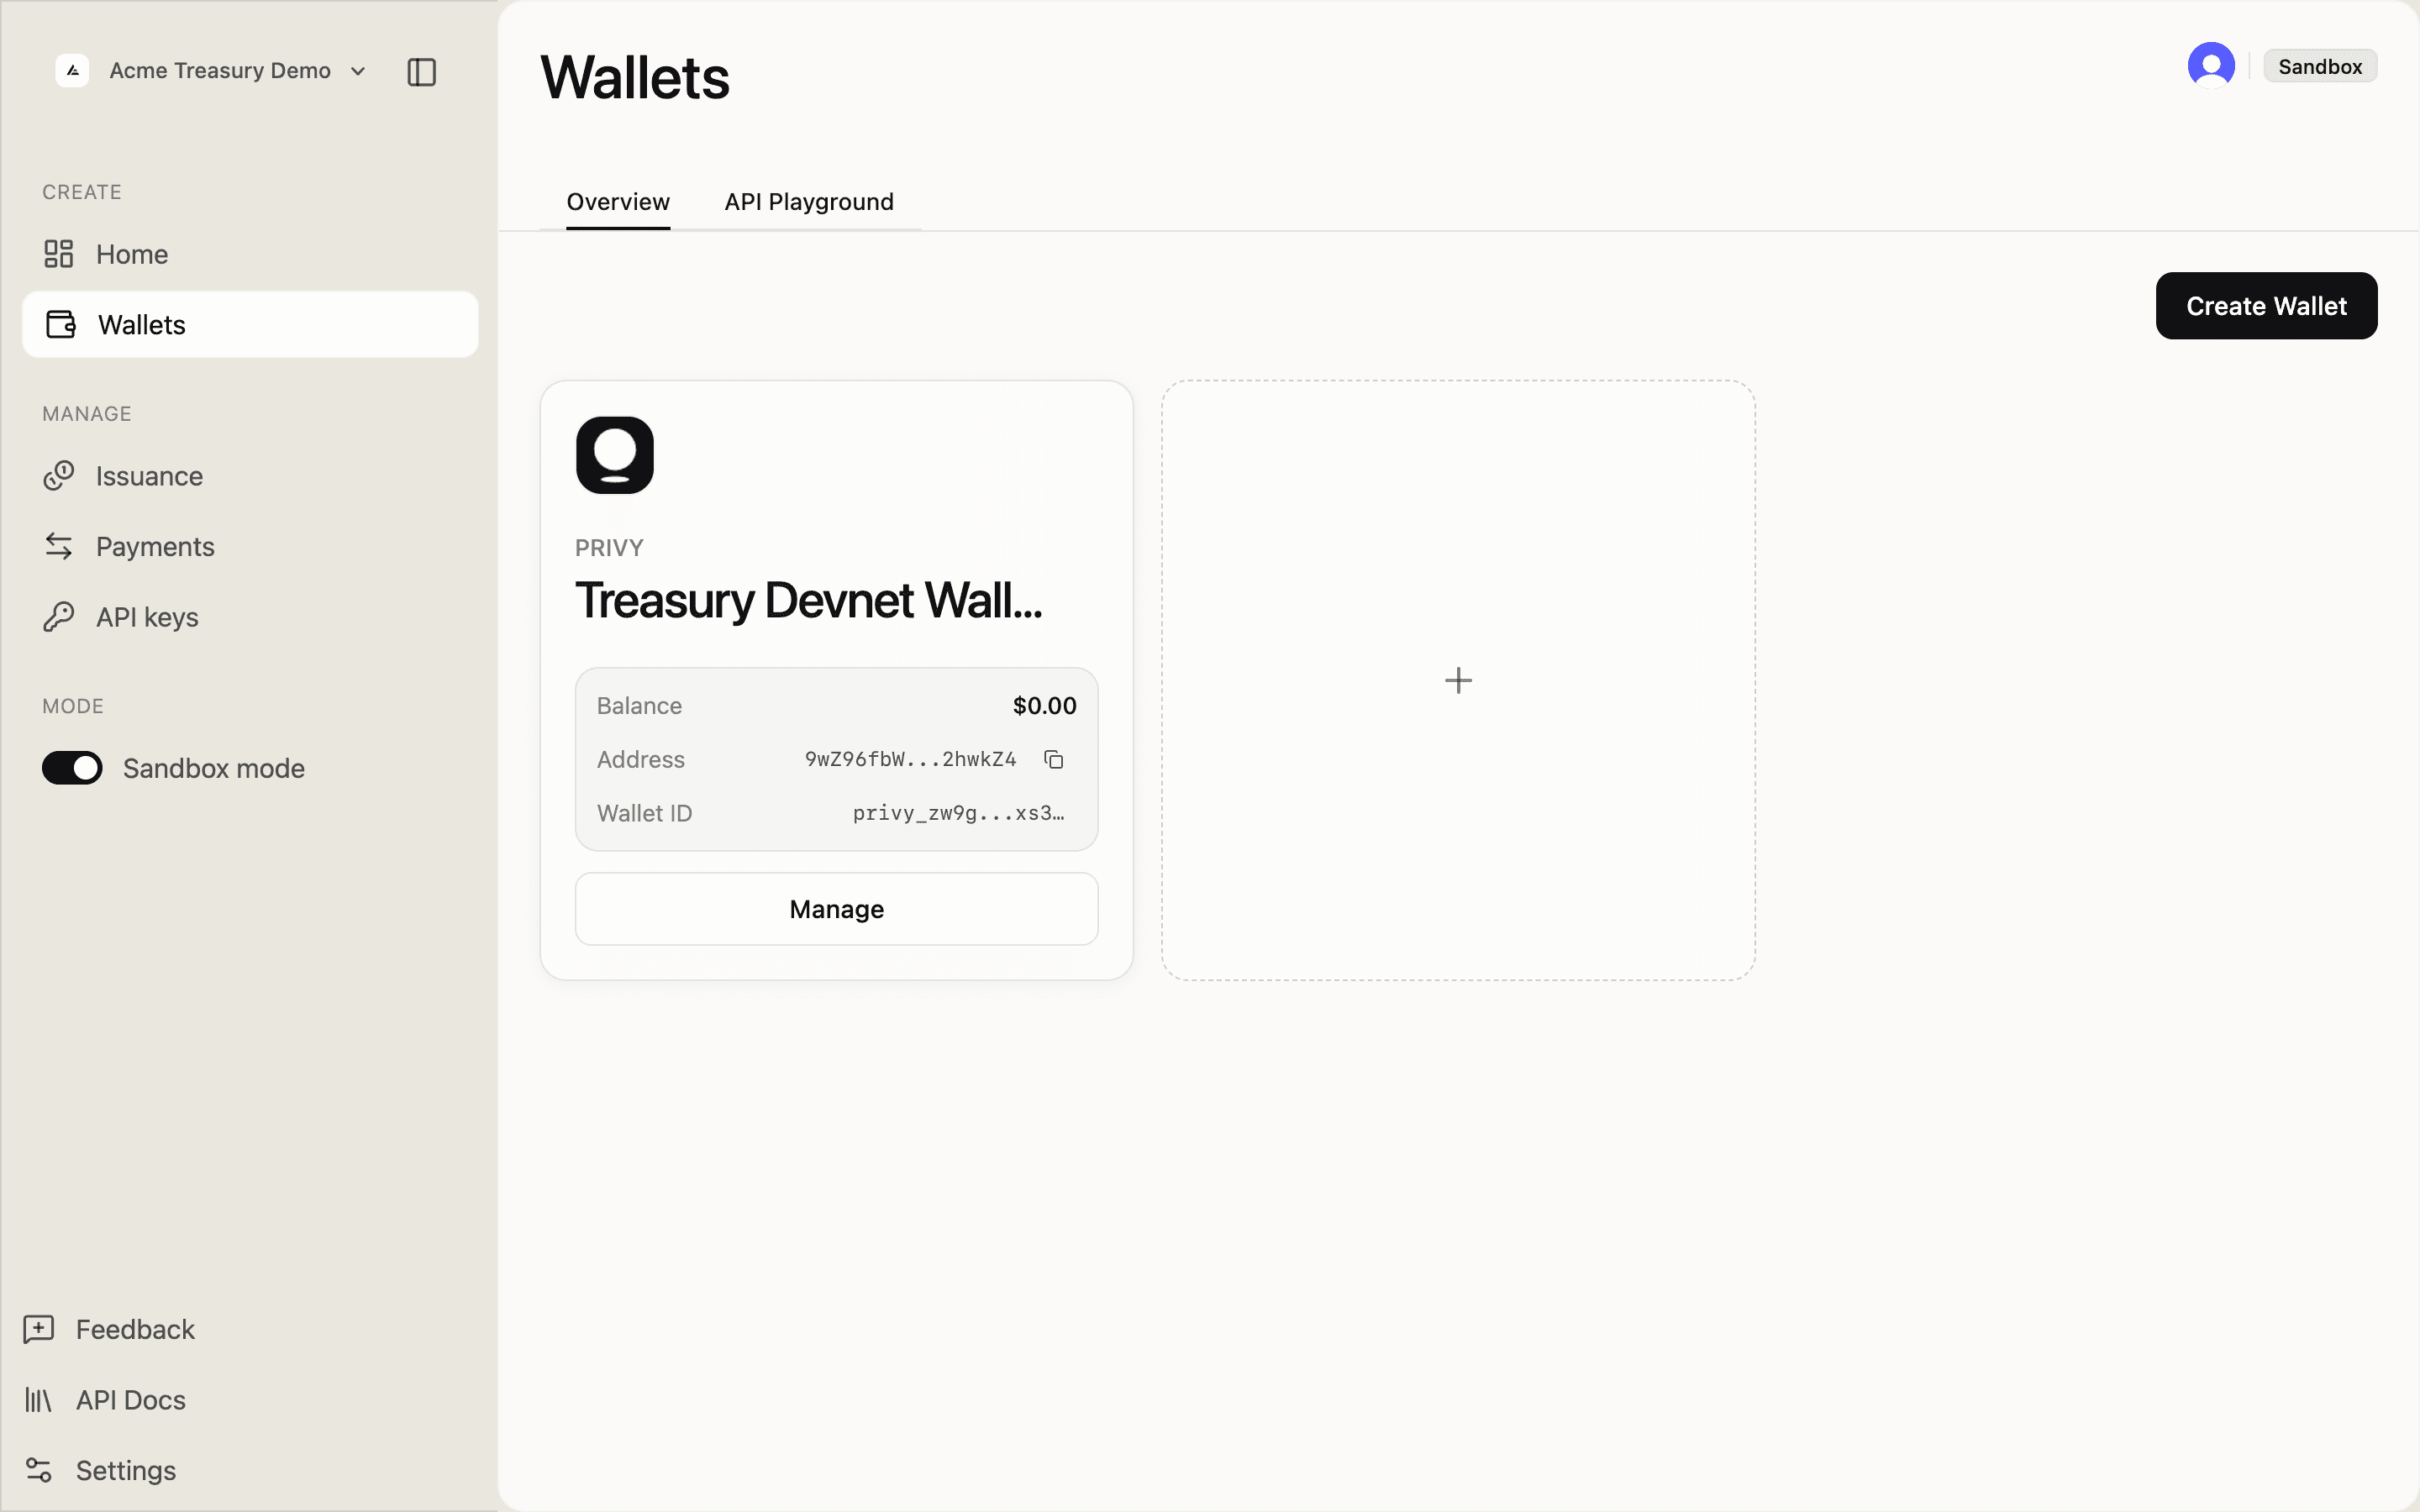
To create additional wallets, click Create Wallet in the top right and repeat the process.
5. Provider capabilities
Each provider supports a different set of operations shown as capability chips:
- Issuance — can deploy and mint tokens
- Transfers — can sign payment transactions
- Compliance — can sign freeze/unfreeze instructions